
Heat-set inserts in 3D prints with a soldering iron: hole sizes, temperatures, tips
How to install M3–M6 brass heat-set inserts in 3D-printed parts with a soldering iron. Hole size table, PLA/PETG temperatures and common mistakes.
Published
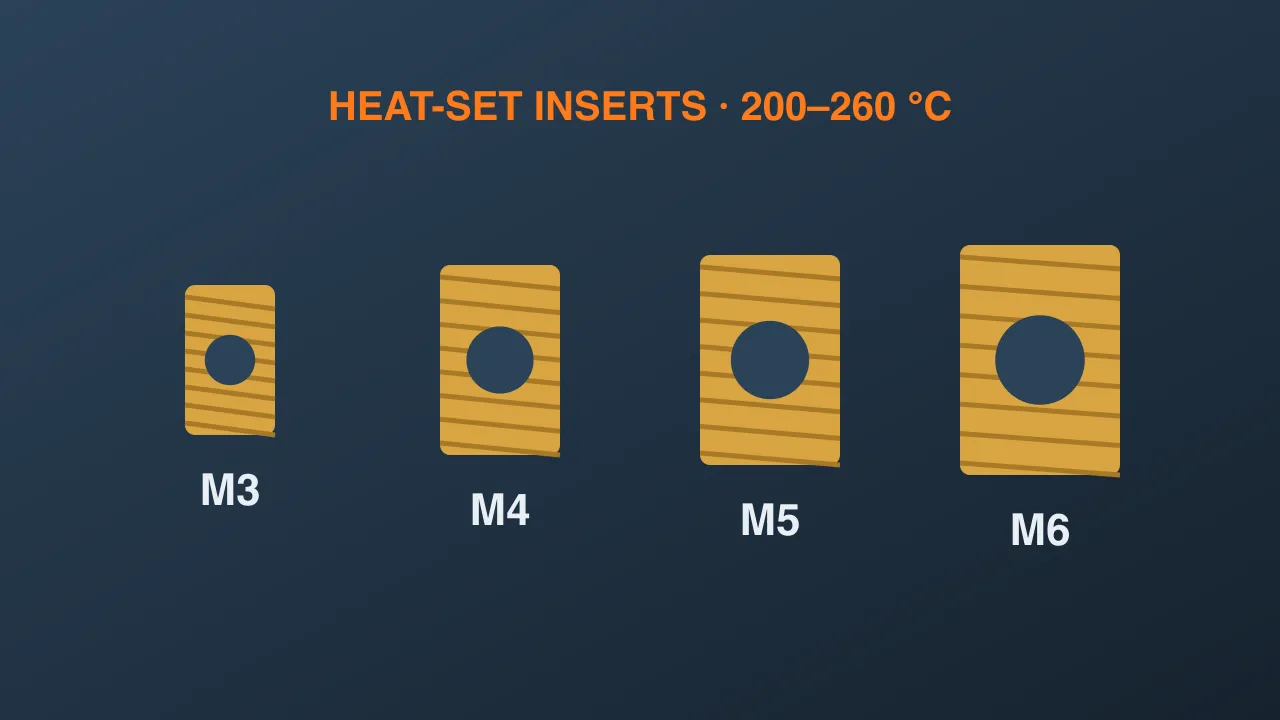
Driving screws straight into printed plastic is quick, but after a few assembly cycles the plastic threads strip. Brass heat-set inserts fix that: a brass sleeve with internal threads and knurling outside, heated and pressed into a hole in the print. The plastic melts around the knurls and sets again, locking the insert in place. From then on you can use normal machine screws as often as you like.
Every FoxBench DIY machine uses inserts wherever parts come apart: lids, ring gears, linear rails.
What you need
- Knurled brass inserts in the thread size of your screws (M3 is the most common).
- A temperature-controlled soldering iron. Ideally a set of insert tips for each size (M2 to M8) that replace the soldering tip. An old conical tip works, but keeping things straight is harder.
- A flat, heat-proof object (a piece of metal, a block of wood) to press the insert flush at the end.
Hole sizes
Inserts are usually labeled thread × length × outer diameter, for example M3×6×4.5. The printed hole is slightly smaller than the outer diameter so the plastic has somewhere to flow into the knurls.
| Insert | Printed hole (starting point) | Hole depth |
|---|---|---|
| M3 × 4 × 4.5 | Ø4.0 | ≥ 5 mm |
| M3 × 6 × 4.5 | Ø4.0 | ≥ 7 mm |
| M4 × 4 × 6 | Ø5.6 | ≥ 5 mm |
| M4 × 8 × 6 | Ø5.6 | ≥ 9 mm |
| M5 × 7 × 7 | Ø6.4 | ≥ 8 mm |
| M5 × 10 × 7 | Ø6.4 | ≥ 11 mm |
| M6 × 7 × 8 | Ø7.4 | ≥ 8 mm |
Three rules:
- Make the hole at least 1 mm deeper than the insert so displaced plastic has room below instead of welling up at the top.
- Keep at least 1.5–2 mm of wall around the hole, and print with 3–4 perimeters or more. Thin walls bulge or crack.
- The table is only a starting point. Every printer makes holes a little bigger or smaller, so print a small test block with holes 0.1 mm apart and pick what suits your printer.
Temperature
The iron should soften the plastic without burning it. Starting points:
| Plastic | Iron temperature |
|---|---|
| PLA | 200–220 °C |
| PETG | 230–245 °C |
| ABS / ASA | 240–260 °C |
At the right temperature the insert sinks evenly in about 3–5 seconds with light pressure. If you have to push hard, it is too cold; if it drops in instantly and the plastic bubbles, it is too hot.
Steps
- Rest the part firmly on the bench with the hole facing up.
- Place the insert on the hole, smaller end (if any) down.
- Put the hot tip into the insert, hold the iron vertical and press lightly so it sinks gradually.
- Stop when the insert is about 0.5 mm proud of the surface. Pull the iron straight up (with a slight twist so the insert does not come with it).
- While the plastic is still soft, press the insert flush with a flat object and hold for a few seconds while it cools.
Common mistakes
- Crooked insert: the iron was not held straight. Go slower and check from two sides; if you install a lot of inserts, a vertical press jig is worth building (the channel’s next machine is exactly that).
- Plastic welling up around the hole: hole too shallow or too small. Make it deeper or open it up by 0.1–0.2 mm.
- Insert spins when tightening a screw: hole too big so the plastic never gripped the knurls, or the iron was too cold. Shrink the hole by 0.1 mm or raise the temperature.
- Plastic inside the threads: insert pushed too deep or too hot. Run a screw in while it is still warm to clean the threads.
- Dent around the hole: the iron touched the surface. Use a tip with a shoulder smaller than the insert, or stop earlier and finish with the flat object.
Safety: insert tips run at 200–260 °C. Keep the iron in its stand when not in use, work on a silicone mat, and unplug and let it cool fully before changing tips.